Why is My Air Conditioner Leaking and How to Fix It

Enjoy reading the latest DIY articles and saving money?
Receive our latest helpful hints, tricks and savings, directly to your inbox.
Posted June 1, 2017
Looking for how to fix the air conditioner leaking problem? You’ve come to the right place. Use this list to find the problem with your AC.
It’s going to be a hot week and an even hotter summer. If you turned on your air conditioner this spring and it sprung a leak, you don’t necessarily have to call a professional. Although you should always have your HVAC unit professionally tuned up every spring and fall, little repairs and efficiency enhancements can often be completed by the savvy homeowner.
How to Fix a Leaking Air Conditioner
The worst thing you want to do is nothing at all. If you find an air conditioning leak, address the issue immediately before you have a real problem on your hand. Leaking air conditioners can destroy ceilings, walls, and anything else around it. If you notice water under your indoor air handler, turn off the air conditioner at the breaker box and either call a professional or follow these steps:
1. Frozen Evaporator Coils
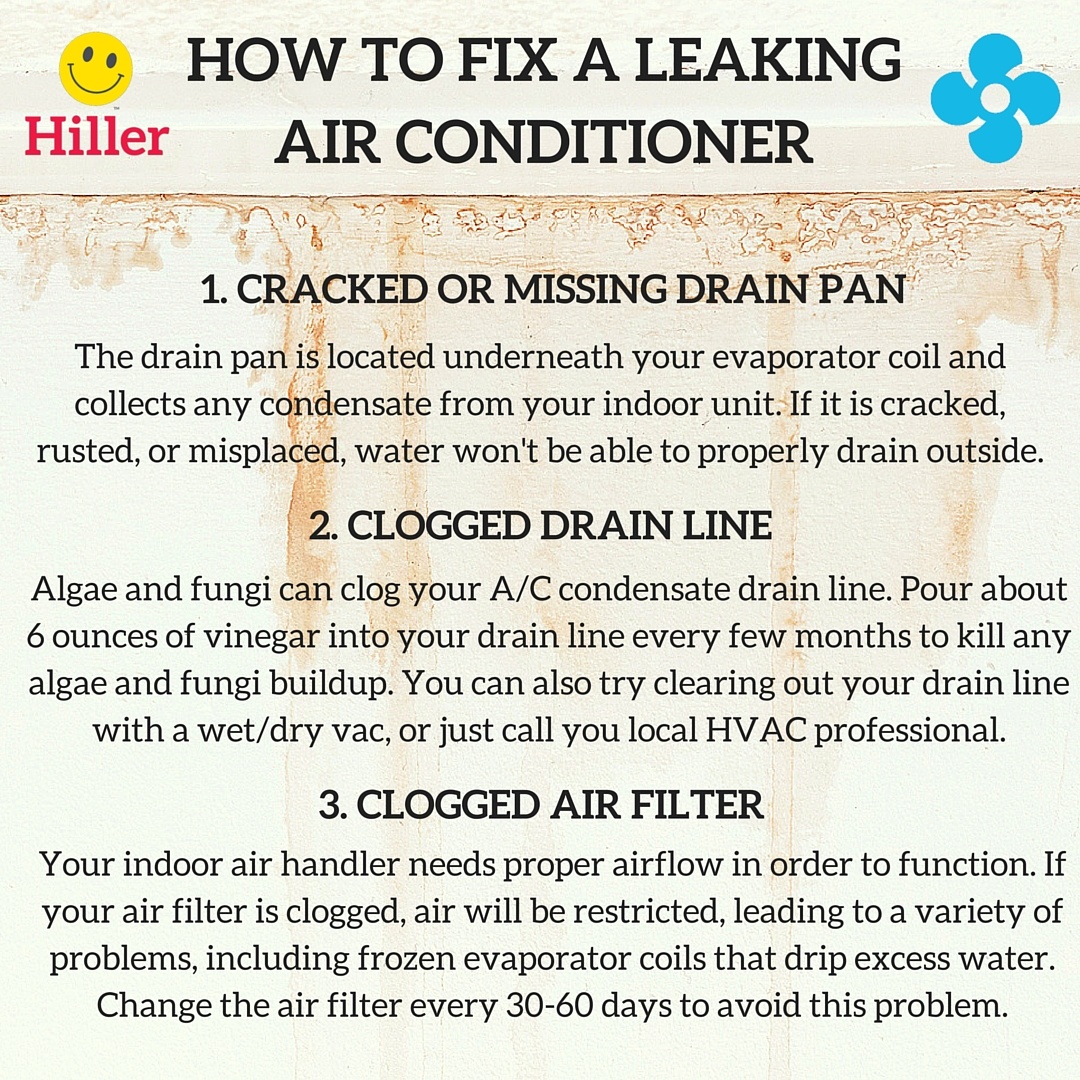
There are only a few causes of a leaking air conditioner, the first one being a clogged air filter. When your air filter is dirty, air cannot pass through as easily, which causes the evaporator coils to freeze up. Since refrigerant flows through your evaporator coils and requires proper airflow to absorb heat, if airflow is restricted, ice will form and drip water. Frozen evaporator coils can also be caused by dirty coils, blocked vents/registers, broken blower motor, or lack of refrigerant.
Frozen evaporator coils mean that your refrigerant can no longer take in the heat from your home. This will lead to warm air or no air and potential problems for your compressor. If you notice a frozen evaporator coil, turn the unit off immediately and do not turn it on again until the cause of the problem is remedied.
You can avoid frozen evaporator coils by replacing your air filter every 30-90 days and not covering any air vents or registers.
You should be changing out the air filter more in the summer when your air conditioning system will be running for extended periods of time. Set calendar reminders to check your air filter at the beginning of every month.
If replacing your air filter and clearing all your vents doesn’t fix the problem, you might have a low refrigerant charge, which requires the services of a professional.
2. Cracked or Overflowing Drain Pan
Your drain pan is located underneath your indoor air handler (which houses your evaporator coil), and catches any condensation from your air conditioning unit. With the unit turned off, inspect your drain pan and pipe for leaks. The pipe is usually connected to your drip pan and discharges the condensate outside.
Use a wet-dry vac to clean the overflow pan and inspect the bottom, corners, and edges with a flashlight. You can temporarily fix a cracked drain pan with water sealant, but it is best to just replace the damaged item.
Keep in mind that there are usually two drain pans, one located just underneath your evaporator coils (permanently fixed) and the other underneath the unit (removable). If you decide to patch up the leak, you will have to leave the permanent one in place while you do it. You will have to call a professional for the primary pan replacement since it is welded in place, but auxiliary pans can be replaced by the do-it-yourselfer.
3. Clogged Condensate Drain Line
The third reason why your air conditioner might be leaking is a clogged drain line. This is a potential DIY project if you have the necessary tools, namely a wet-dry vacuum.
The condensate line can become blocked with fungi, algae, and debris. It’s necessary to clear the drain line every once in a while. You can call a professional or try to do it yourself:
- Locate the PVC pipe near your air handler’s drain pan. It should have a piece of pipe sticking up at a 90 degree angle with a little cap on top.
- Unscrew the cap and pour about six ounces of vinegar down the drain line. Doing this every few months will kill any algae or fungi that develops in your line. If your drain line is still clogged, you will have to decide if you will call a professional or use a wet-dry vac to clear the line yourself.
- Locate your outdoor condensate drain line near your condenser unit, connect your wet-dry attachment, and turn the vacuum on. Most home improvement stores sell an attachment that connects your wet-dry vac with your outdoor drain. Learn more by watching the video below:
Modern air conditioning systems have automatic shut-off switches for clogged air filters and condensate lines. If you A/C won’t turn on, check your air filter and drain line first.
If you drain line isn’t connected properly, you will want to call for a professional repair.
A great way to prevent a frozen air conditioner in the first place is by signing up for a home maintenance program. Make sure the annual HVAC tune-ups include full cleanings and drain clearings
FREE Smart Thermostat with Happy Hiller Club Membership
Home Comfort Just Got Smarter.
Get Promotion