Common Sink Plumbing Issues and How to Fix Them

Enjoy reading the latest DIY articles and saving money?
Receive our latest helpful hints, tricks and savings, directly to your inbox.
Posted October 30, 2020
Believe it or not, one trillion gallons of water is wasted annually because of plumbing leaks. When you encounter a sink plumbing problem in your home, you want to fix it immediately. Standing water can lead to mold and corrosion of materials. Plus, your clogs and blockages can build up over time, which can lead to nasty smells and water damage.
Many people feel overwhelmed when they face an issue with their plumbing. Because they don’t understand the basics of their home plumbing system, they might hesitate before calling a professional because they simply don’t understand the problem.
The good news is that you can probably fix many common plumbing issues on your own. This could end up saving you a lot of money.
Interested in learning more? Continue reading and we’ll walk you through common sink plumbing issues and how to fix them.
1. Low Water Pressure
When someone has an issue with low water pressure, that problem is usually occurring at the sink faucet. The first thing you want to do is see if both the cold and hot water are being affected by the low water pressure. If both the cold and hot water have low pressure, the problem is most likely stemming from the aerator.
Calcium deposits can build up slowly in the faucet aerator and lower the water pressure. Thankfully, it’s easy to fix a blocked aerator.
How to Fix the Low Water Pressure Issue
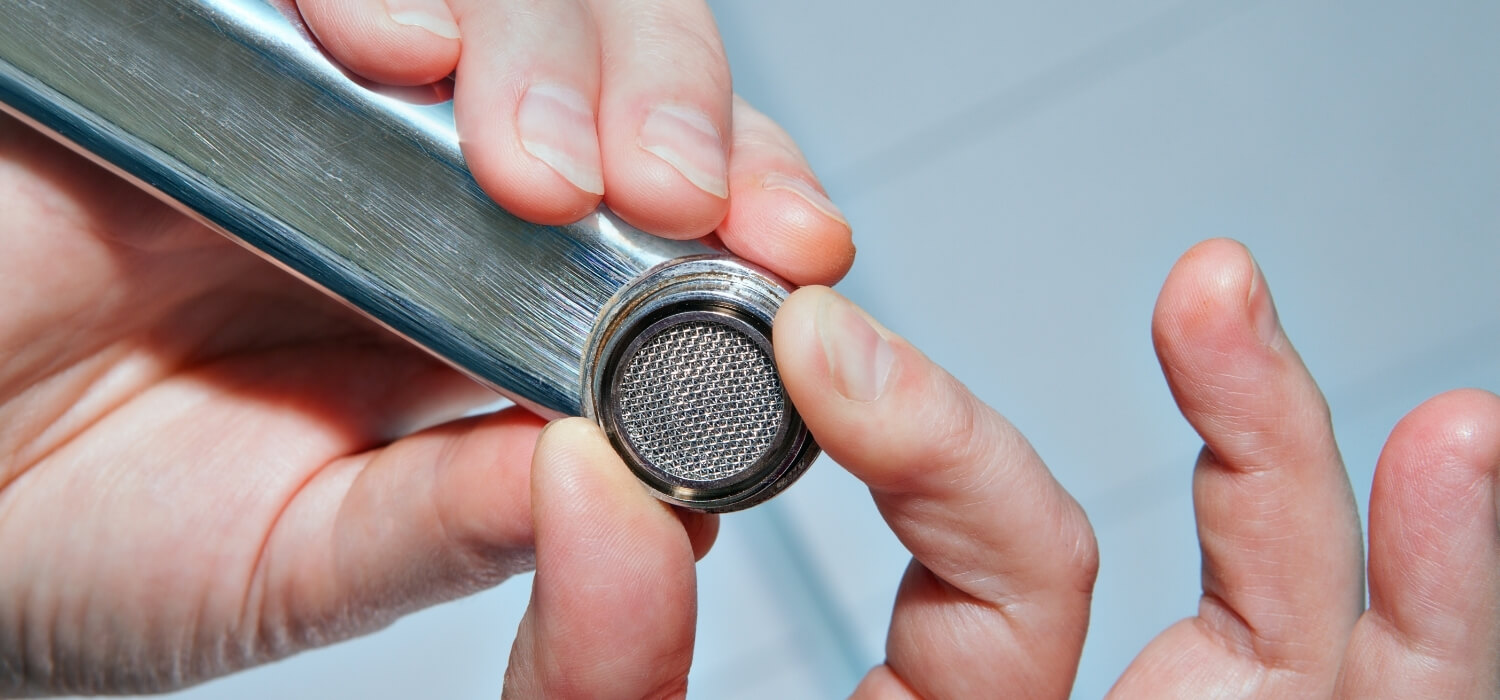
The aerator is the screw-on screen fitting that can be found at the tip of the faucet. The job of this piece is to break the solid stream of water up and also add air to the flow of water. This process can reduce your water usage significantly too.
Your aerator can sometimes get clogged with mineral or grit buildup and will have to be cleaned. This problem is especially common in places where the heavy mineral content is present in the water supply.
In many situations, all you have to do is simply clean the aerator. However, you might have to replace the aerator piece if it’s too damaged.
Either way, you’ll first have to take the aerator off of the faucet. You can normally do this by unscrewing the piece by hand. You might need to use pliers if you can’t remove it by hand.
You can clean the mineral deposits or grit off of the metal screen by hand. You can also poke the openings of the screen with a needle or pin. If the screen is rusted, you should replace it.
If you see that parts of the screen are clogged with lime mineral deposits, soak the screen overnight in vinegar.
After the aerator is cleaned, screw it back on by hand and test it out. If water is leaking around the aerator, use pliers to tighten it even more.
2. Slow Draining Bathroom Sink
Another common sink plumbing problem is when the sink drains much slower than it’s supposed to. This can mean that the pop-up that’s used to stop up the sink can collect a lot of debris and hair over time. To get the drain back to flowing properly, you’ll have to get the debris cleaned out.
Let’s go over several easy and useful ways to clean a slow draining sink.
Remove the Pop-up
Due to the way that the sink pop-up is shaped, it usually collects build-up and debris. If you notice that your sink is draining slowly, one solution is to remove the pop-up and clean it out. Many sink pop-ups are kept in place by a nut that is attached to the drain located under the sink.
To remove the pop-up, reach behind the drain pipe that’s under the sink and find the pop-up nut. After you remove the nut, you can pull the pop-up out of the sink drain and clean it. After it’s cleaned, you simply have to reinstall it.
Check the Trap
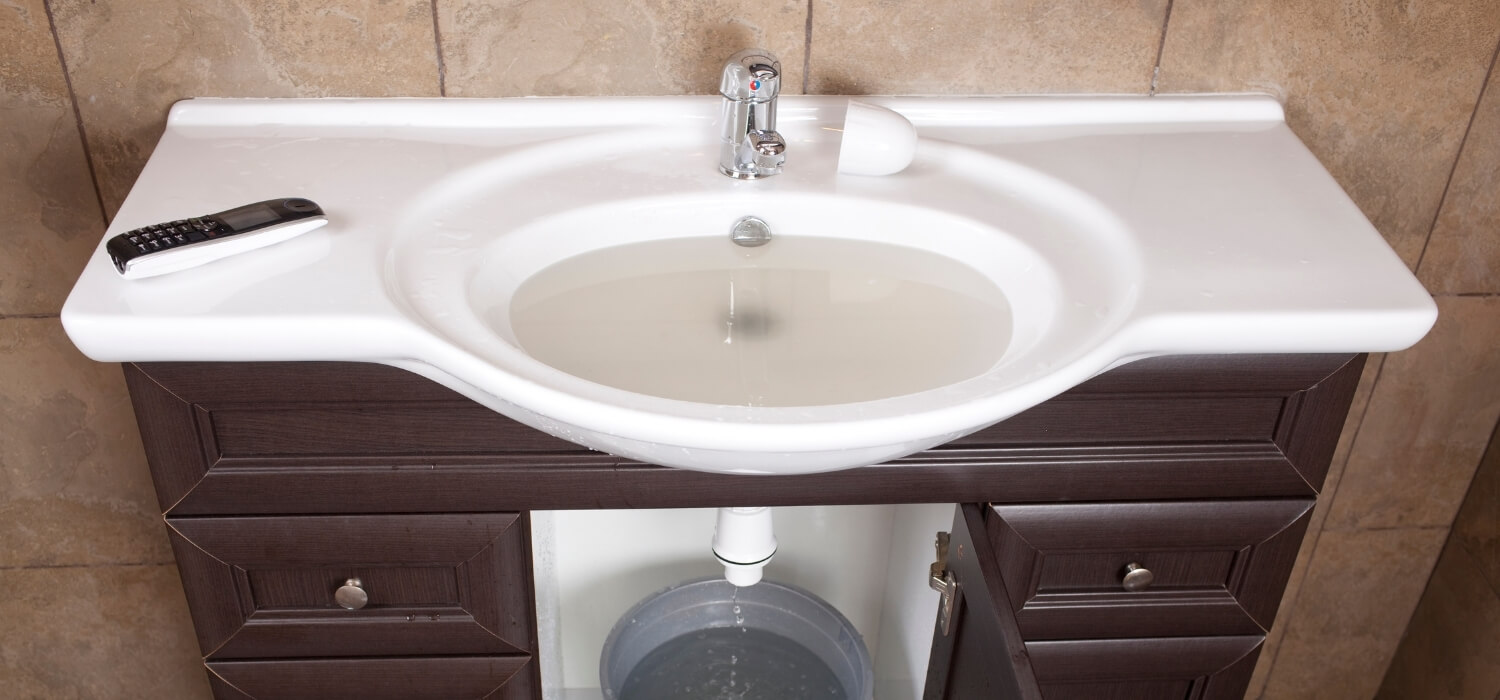
If your sink still isn’t draining properly after cleaning the pop-up, you should disconnect the bathroom sink trap. Two nuts hold the trap in place.
Unscrew both of those nuts and pull the trap straight down to remove it. Consider placing a container under the sink drain so that you can catch any water that spills as you take off the trap.
Check the trap for anything that could be causing the blockage and clear it out. Sometimes, things like hairbands, change, and toothpaste caps can get stuck in the drain trap. Simply taking these pieces out should be enough to clear the clog.
Check the Trap Arm
If you couldn’t find anything obstructing the flow of water in the drain trap or the sink pop-up, you’ll have to check the trap arm. The trap arm is sometimes glued into place, but most of the time it’s fastened with a nut that’s located in the back, towards the wall.
Loosen the nut and pull the trap arm straight out of the wall. Once you do this, you should be able to look into the drain and see if anything is clogging it. If you do see something, remove it.
If you don’t see anything, you’re going to have to snake the sink plumbing.
Snake the Drain
After you’ve removed the trap and the trap arm, you should be able to access the drainpipe with a drain snake. To run the drain snake, hold the snake close to the opening of the drain pipe.
Insert the end of the snake cable into the drain and feed the snake into the drainpipe slowly. Make sure to maintain firm pressure on it.
The snake should be able to clear the clog.
After you snake the bathroom sink drain, put the pop-up and trap back together and see if the blockage has been cleared. If the drain still isn’t clear, you might want to snake it again and go further down the pipe to clear the blockage.
After you’ve unclogged your bathroom sink, search for leaks at all of the joints by filling the sink. Follow this by draining it all at once. As with all clogged drains, if you continue experiencing drain issues, you may have to consult an expert for a professional drain cleaning.
3. Clogged Kitchen Sink
A clogged kitchen sink can be especially disturbing. Because this is the space in your home where you prepare your meals and keep your food, you want to make sure that it’s as clean as possible. A clogged kitchen sink can lead to mold, foul odors, and other problems.
Thankfully, it’s usually not that difficult to clear backed up kitchen sink plumbing.
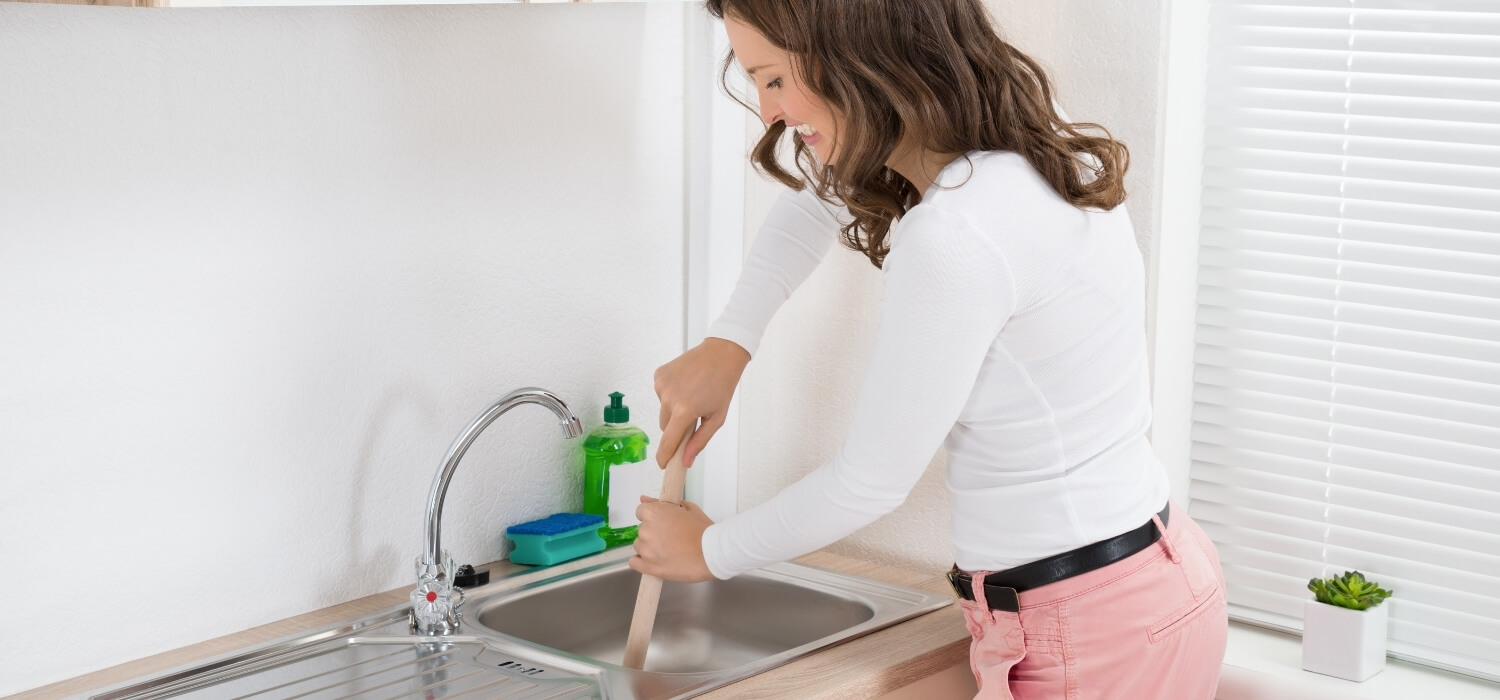
Use a Plunger
Most people assume that a plunger is really only meant for a slow draining toilet. However, the same logic that makes plungers so effective on toilets can also be applied to sinks. You can purchase a cheap and effective plunger at most hardware stores for just a few dollars.
However, there are multiple types of plungers, and you want to make sure that you get a cup-shaped one.
To plunge a sink, you want to first get a rag and plug up the overflow opening of the sink. If you have a double-basin kitchen sink, block the drain that is opposite the one you plant to plunge. Make sure to take the strainer out of the clogged side.
Position the plunger cup over the clogged drain. Make sure that the opening is covered completely.
While you’re firmly holding the plunger in place, fill the sink with just enough water to cover the cup. You want to create a tight seal.
Make sharp and quick up-and-down movements to work out the clog. Keep the seal intact and make your pushes as even as possible.
After about every five plunges you want to check your progress. If you break the seal between the sink surface and the plunger cup and the water drains, you’ve successfully cleared the clog.
If the water isn’t draining, re-create the seal and try again. Usually, you’ll notice that the clog frees itself when the plunger becomes a lot easier to pump.
Once you’ve cleared the clog, run some hot water to make sure that all of the debris is drained away.
Use Your Own Eco-Friendly Drain Cleaner
There are a lot of reasons to avoid using chemical drain cleaners. They can be extremely poisonous, dangerous to use, and can burn the skin. Even worse, they’re not always effective.
If a chemical drain cleaner isn’t able to clear a clog, the chemicals could end up sitting on top of that blockage and end up corroding your sink plumbing. A homemade drain cleaner, on the other hand, is much safer to use and fairly inexpensive.
It’s also worth pointing out that you don’t always need the power of a chemical drain cleaner. You can often clear a slow drain with a mixture of vinegar and baking soda and boiling water.
Baking soda is a base substance while vinegar is a mild acetic acid. These two substances react together to make a bubbly and fizzy process that releases carbon dioxide.
First, you want to remove as much water from the sink. You’ll also have to remove the pop-up stopper so that you can get better access to the drain.
Pour a panful of boiling water into the drain followed by half a cup of baking soda. Also, pour half a cup of vinegar down.
Use a stopper to cover the drain. The vinegar and baking soda will bubble and fizz a lot. By covering the drain, you force the reaction to move downward as opposed to going up and out of the drain.
However, it’s not critical that you cover the drain. Either way, you want to wait ten minutes. Once the time is up, pour another pot of boiling water down the drain.
Finally, flush the drain with hot water from the faucet to remove any leftover build-up from the drain pipe.
4. Jammed Garbage Disposal

Garbage disposals can get jammed every so often when a hard object gets between the wall of the disposal and the blades. People often pour a variety of things down the disposal that they’re not supposed to. A good rule of thumb is that if it’s not something that you would eat, you probably shouldn’t put it in your garbage disposal.
Luckily, clearing a jammed garbage disposal is actually pretty easy.
Use An Allen Wrench
First, you want to unplug the garbage disposal unit. If there is no outlet, you should make sure that it’s turned off, and even turn off the disposal’s circuit breaker. The last thing you want is to have the disposal turn on accidentally.
Get a flashlight and look into the disposal. You might be able to see the object that’s jamming the blade. If you can see it, you might be able to remove it just with your hands.
You can also use pliers if you don’t want to stick your hand in there. It’s worth pointing out that there’s nothing sharp in the disposal, even the blades are blunt.
If you can’t remove the object this way, insert your Allen wrench into the hex socket. Move the wrench back and forth to free the jam.
Restore power to the garbage disposal. Press the reset button at your disposal to get your unit working properly again.
Finally, you want to run cold water from the tap and turn on the disposal. If the disposal spins freely, you’re done! If it doesn’t, try to free the jam again.
The Importance of Knowing How to Fix Common Sink Plumbing Issues

As we can see, there are a variety of common sink plumbing issues out there. But with a little bit of elbow grease, you should be able to get the problem fixed.
With that said, not every plumbing issue can be fixed with a DIY setup. There are times where you need to use specialized equipment and have extensive knowledge of how plumbing works. When this happens, it’s best to call a professional that’s reliable, honest, and experienced.
If you’re experiencing any plumbing issues, contact us today and see how we can help you!